For over 100 million individuals in Europe, facing noise rather than peace at home is a daily ordeal, as they endure noise levels that are detrimental to their health.
Noise pollution is not merely an inconvenience; it is a significant public health issue with economic and environmental implications.
However, there is a silver lining: cities and communities are recognising the problem and taking decisive actions to mitigate this unseen threat.
As reported by the European Environment Agency, noise pollution poses a substantial challenge to both human health and the environment. The task is daunting, yet the potential for transformation is equally vast.
Why Noise Pollution Is More Than Just an Annoyance
Noise pollution extends beyond mere irritation; it is a covert health risk affecting millions worldwide. In the United States, around 125 million people are exposed to harmful noise levels daily, a significant portion of the population.
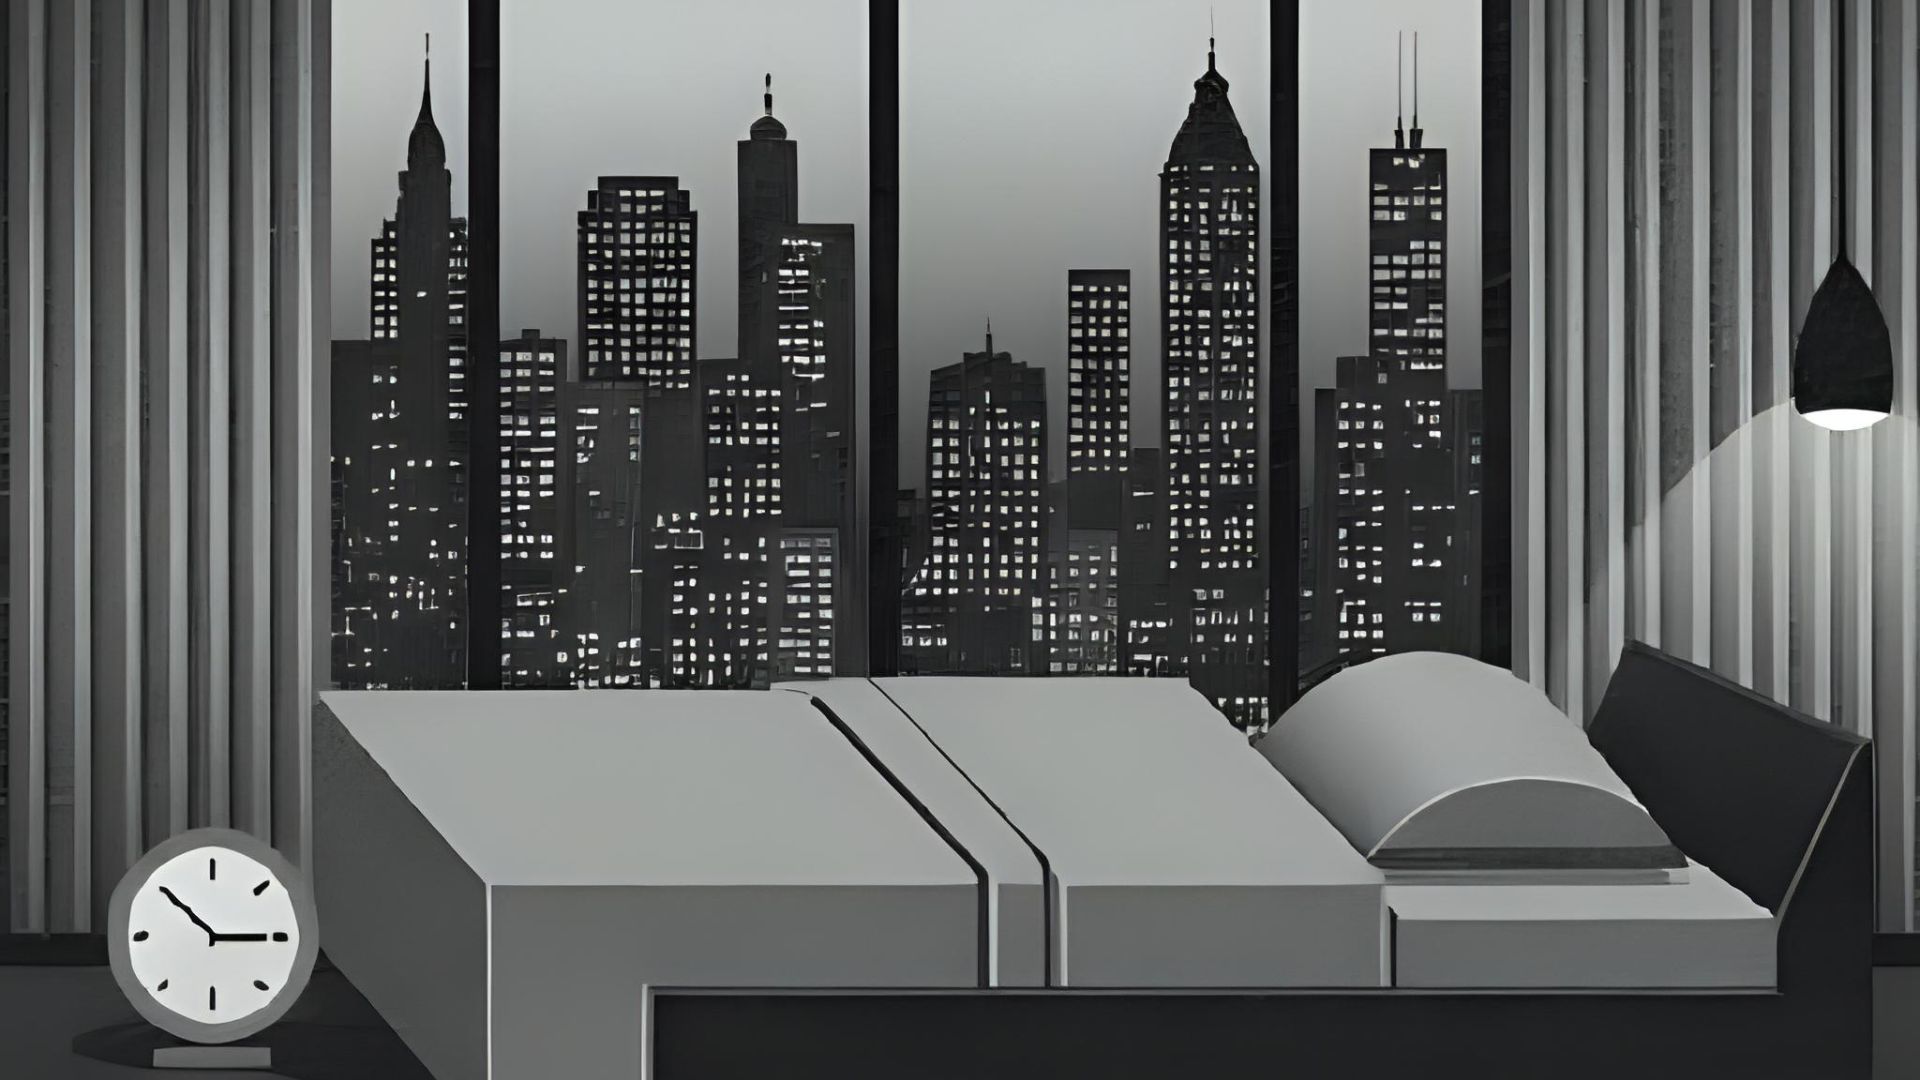
The health stakes are considerable. Prolonged exposure to loud noise is linked to hypertension, coronary heart disease, sleep disturbances, and cognitive impairment. A study in the American Journal of Preventive Medicine suggests that a mere 5-decibel reduction in environmental noise could decrease hypertension prevalence by 1.4% and coronary heart disease by 1.8%. This not only benefits health but also translates into an economic gain of approximately $3.9 billion annually.
In Europe, the financial burden is similarly concerning, with noise pollution costing the European Union over €40 billion annually in health-related expenses. This issue is not confined to Europe or America; cities like Dhaka in Bangladesh experience noise levels surpassing World Health Organization recommendations, driven by construction, loudspeakers, and insufficient green spaces. The problem is indeed global.
Noise pollution’s impact extends to mental well-being. Studies show that constant exposure to high noise levels can elevate stress and anxiety, as the body remains in a state of heightened alertness. This chronic stress can disrupt daily life, impairing concentration and productivity, particularly in children and the elderly. For example, children in noisy urban settings may face learning and behavioural challenges, as their ability to focus and retain information is hindered by the surrounding din.
The environmental consequences of noise pollution are significant. Wildlife is adversely affected, as many species rely on sound for communication, mating, and navigation. Increased noise levels can lead to habitat abandonment and reduced reproductive success in various animal populations. For instance, urban birds often modify their songs to be heard over background noise, disrupting mating rituals and affecting survival. Addressing noise pollution is crucial not only for human health but also for preserving biodiversity and maintaining ecological balance.
City-Wide Initiatives: Turning Down the Noise
Fortunately, some cities are pioneering efforts to combat noise pollution with innovative and community-centric strategies. These initiatives go beyond simple noise barriers or fines; they involve reimagining urban life to be quieter and healthier.
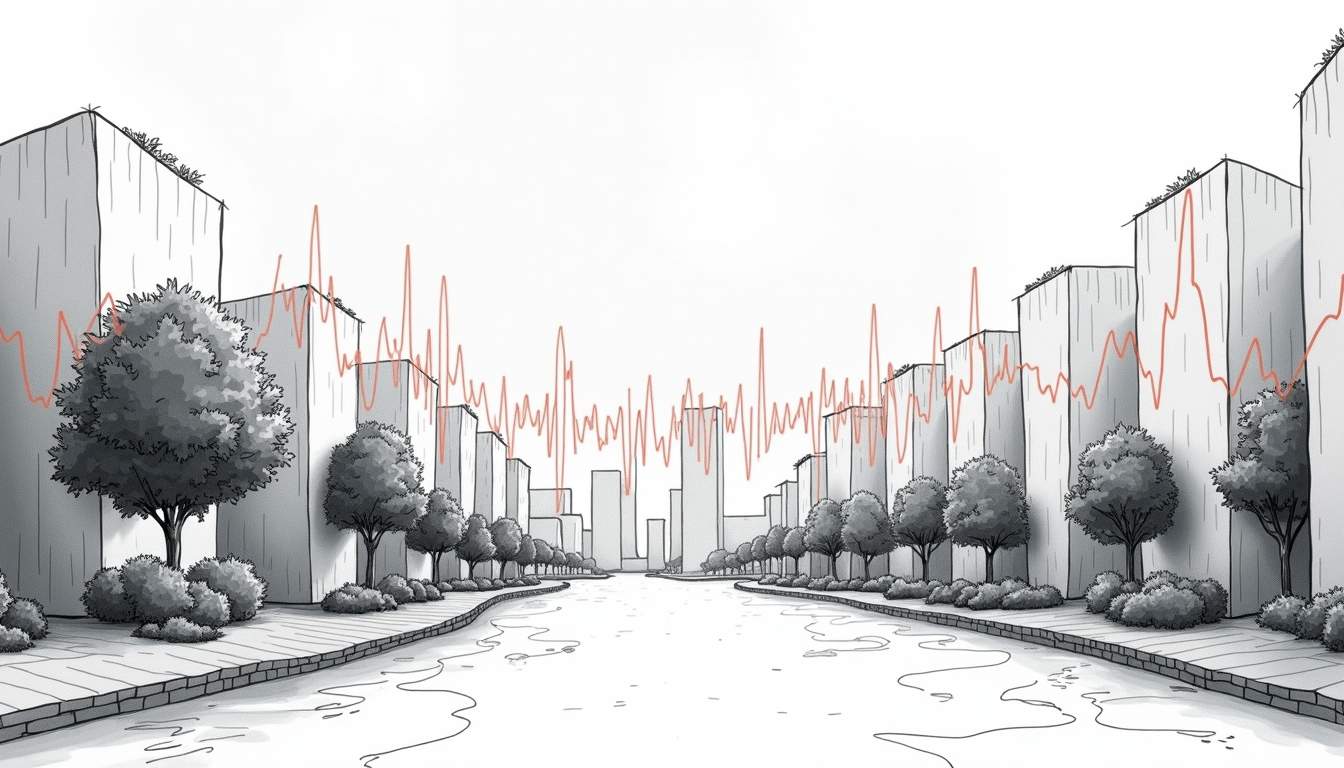
Green Spaces and Urban Design
Thoughtful urban planning is a powerful tool for noise reduction. Parks, trees, and green belts serve as natural sound buffers, absorbing and deflecting noise. Cities investing in green infrastructure are witnessing quieter neighbourhoods and more content residents. It is a dual benefit: greenery not only reduces noise but also enhances air quality and provides recreational spaces. In cities like Singapore, vertical gardens and rooftop parks are transforming concrete landscapes into lush environments that beautify and serve as effective sound barriers. The integration of biophilic design principles into urban architecture further amplifies these benefits, fostering mental well-being and environmental sustainability.
Traffic Management and Quiet Zones
Traffic is a major source of urban noise. Some cities have introduced low-noise road surfaces, restricted heavy vehicle access during night hours, and created pedestrian-only zones in busy districts. These measures help reduce the constant hum of engines and horns, offering residents a respite from urban noise. Additionally, cities like Amsterdam have embraced cycling as a primary mode of transport, significantly reducing both traffic congestion and noise pollution. The implementation of bike lanes not only promotes a healthier lifestyle but also fosters community engagement as people interact more with their surroundings. For instance, New York City faces health-related economic losses exceeding $2.5 billion annually due to noise pollution. Efforts to reduce traffic noise are not just about comfort but about saving billions in healthcare and productivity costs, as highlighted by WorldMetrics.org.
Community Engagement and Awareness
Noise pollution is not solely a technical issue; it is a social one. Empowering communities to advocate for quieter environments is essential. Some cities have launched awareness campaigns, encouraging citizens to report noise violations and participate in local noise monitoring. When people feel they have a voice, change occurs more swiftly. Workshops and community meetings can facilitate discussions about noise reduction strategies, allowing residents to share experiences and suggestions.
Initiatives like “quiet hours” in residential areas or noise awareness days can help cultivate a culture of respect for shared spaces. By involving local schools, businesses, and organisations, cities can create a collaborative approach to tackling noise pollution, leading to more sustainable and effective solutions that resonate with the community’s values and needs.
Technology and Innovation: The New Allies in Noise Control
Modern technology is proving to be a game-changer in the fight against noise pollution. From noise mapping apps to smart sensors, cities now have better tools to understand and tackle noise hotspots. These advancements not only enhance urban living but also promote healthier environments, as excessive noise has been linked to various health issues, including stress, sleep disturbances, and cardiovascular problems.
Noise Monitoring and Data-Driven Policies
Accurate data is the foundation of effective noise control. Cities are deploying networks of sensors that continuously monitor noise levels in real time. This data helps authorities identify problem areas, enforce regulations, and measure the impact of interventions. In addition to traditional monitoring methods, some cities are incorporating citizen feedback through mobile apps, allowing residents to report noise disturbances directly. This participatory approach not only enriches the data pool but also fosters community engagement in local governance.
Moreover, noise maps generated from this data provide transparency and empower citizens with information about their environment. When people see the noise levels in their neighbourhoods, they are more likely to support noise reduction initiatives. These maps can also guide urban planning, helping to design quieter public spaces and residential areas that prioritise the well-being of their inhabitants. By integrating this data into urban development strategies, cities can create more harmonious living conditions that reflect the needs of their communities.
Innovative Noise-Reducing Materials
From sound-absorbing road surfaces to noise-cancelling building materials, innovation is making it easier to build quieter cities. These materials can dramatically reduce the transmission of noise from busy roads or construction sites, improving the quality of life for nearby residents. For instance, researchers are developing new types of asphalt that incorporate rubber from recycled tyres, which not only dampens sound but also promotes sustainability by repurposing waste materials.
Furthermore, architectural innovations are also playing a crucial role in noise reduction. Buildings designed with acoustic panels and soundproof windows are becoming more common, particularly in urban environments where noise pollution is prevalent. These features not only enhance comfort for occupants but can also increase property values, as quieter homes are often more desirable. As technology continues to evolve, the potential for creating serene urban landscapes becomes increasingly attainable, paving the way for a future where noise control is seamlessly integrated into the fabric of city life.
What You Can Do: Fighting Noise Pollution at Home and in Your Community
While city-wide policies and technology are vital, individual actions also play a key role. Noise pollution thrives when people accept it as inevitable. Challenging that mindset is the first step.
Be Mindful of Your Noise Footprint
Simple habits like lowering the volume on your music, using quieter appliances, and avoiding noisy activities during late hours can make a big difference. If you live near a busy street, consider installing double-glazed windows or using heavy curtains to muffle external sounds.
Support Local Noise Reduction Initiatives
Get involved with community groups focused on noise issues. Attend local council meetings, voice your concerns, and support policies aimed at reducing noise pollution. Collective action is powerful.
Advocate for Green Spaces
Push for more parks and tree planting in your neighbourhood. Green spaces not only beautify an area but also act as natural sound barriers. Plus, they’re great for mental health and community wellbeing.
The Road Ahead: A Quieter, Healthier Future
Noise pollution is a formidable foe, but it is not unbeatable. Across the globe, from Europe to New York City to Dhaka, people and governments are recognising the urgent need to act. The economic and health benefits of reducing noise are clear, and the tools to do so are more accessible than ever.
As the European Environment Agency puts it, noise pollution is a major problem, but it can be tackled with the right mix of policy, technology, and community spirit. The quiet revolution is underway, and it is inviting everyone to join in for a calmer, healthier world.